
It feels really disgusting when you flush your toilet but still the waste particles remain there. When the waste in your toilet does not flush away properly even after two or three flushes, then you should understand that this is the time to change your toilet. You need to upgrade your toilet to a power flush toilet. It can help you to cut down on your water bill.
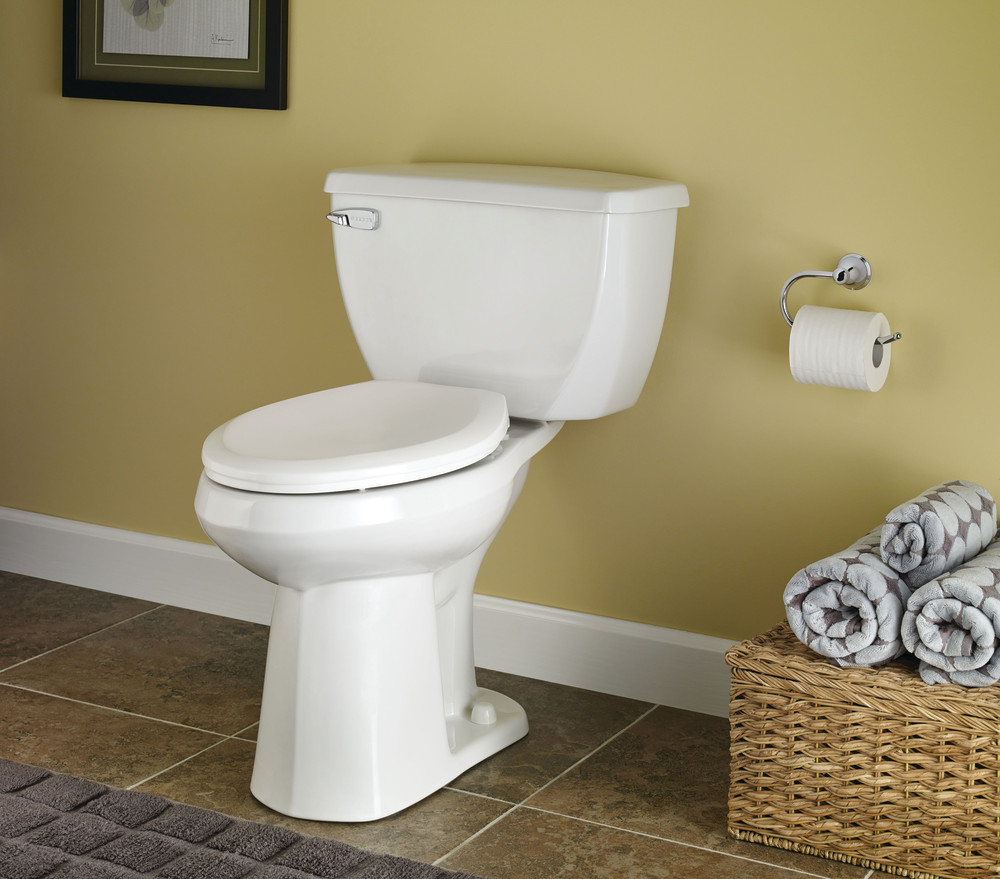
Power Flush Toilets
Flush toilets are also known as pressure assisted toilets. They flush with less water but with more force as compared to a standard gravity powered toilet. In this way you are saving money on water bills and also saving yourself from the hassle of flushing again and again to flush away the waste properly.
The main purpose of a power flush toilet is to clean the waste properly with a single flush. Power flush toilets look the same as gravity powered toilets. However the inside portion of a tank is different for a power flush toilet as compared to a standard gravity powered toilet. Inside the tank of a power flushed toilet, there is a plastic container which contains water and other tank parts.
Features of Power Flush Toilets
· It uses less water as compared to other standard toilets.
· It flushes with more power to clean all the waste and its remains.
· It has a scrubbing feature to clean the bowl properly.
· Clogs and blockages do not tend to happen as much as in standard toilets.
· Power flush toilets have a longer life span as compared to standard gravity powered toilets. Less flush is used in toilets which results in less wear and tear.
Installation of Power Flush Toilets
Power flush or pressure assisted toilets are designed to use less water but they flush the waste with more power as compared to standard gravity powered toilets.
When water is filled in its container after flushing mechanism activates, the air in this container creates pressure. When you flush the toilet this pressure created by the compressed air, forces the water to go into the bowl with high speed.
Although power flush toilets are totally different internally as compared to standard toilets, they look the same externally. The installation procedure of both toilets is also nearly the same.
Installation process of a power flush toilet is given below.
1. First close all the water supply valves and disconnect the water supply coming into the toilet. Place the water supply pipe in a bucket with a capacity of nearly 5 gallons.
2. After putting the water supply pipe in the bucket, open the valve for 30 seconds and then close it.
3. Now check the amount of water collected in the bucket in 30 seconds. If the water is less than a gallon, then your water pressure is not sufficient for the installation of a power flush toilet. If it is more than a gallon then you can proceed with the installation.
4. Now is the time to remove the old toilet. After removing the old toilet, also scrape the wax from the flange on the floor.
5. Now open the bolts given with your new power flush toilet. Fix these bolts in the notches with the flange and secure them with plastic covers as well.
6. Now place the toilet on the flange without the wax seal. First check if it fits properly on the flange. Leave the shims as markings and remove the toilet.
7. Now place the toilet upside down on the floor and place the wax seal on the bottom of the toilet.
8. Next place the toilet with the wax seal on to the flange where you have marked it with shims. Note that the bolts on the flange should be fixed into the holes on the bottom of the toilet. Set the position of the toilet and press down properly.
9. Fix the nuts and washers with the bolts of the flange to make sure that the toilet gets attached with the flange properly.
10. In the next step, fix the tank above the bowl. Insert bolts to fix the tank. Secure these bolts with nuts and washers to make the connection between tank and bowl.
11. Attach a water supply line.
12. Fix the toilet seat by placing the bolts in the holes behind the bowl and tighten the nuts and washers.
Now your power flush toilet is ready to use!!!
Final Words
According to Decofacts, the above installation process shows a step by step procedure of installing a power flush toilet. This is nearly the same as the installation process of a standard gravity powered toilet.