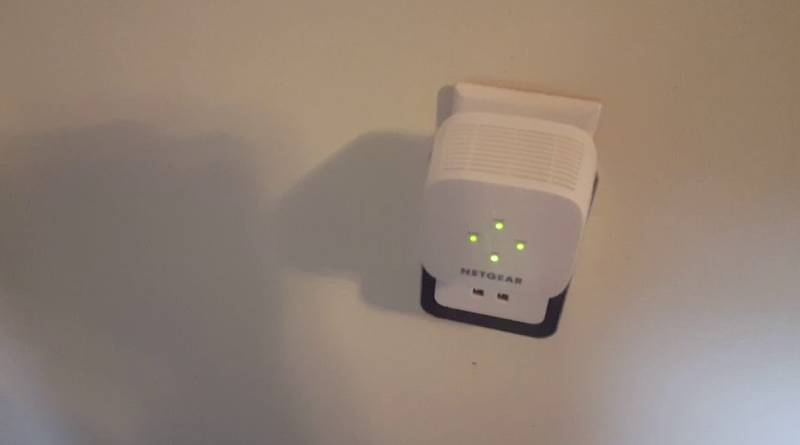
Performed Netgear extender setup at your home but facing issues with internet connection speed? Can’t log in to your extender? If you nod yes to any of these questions, then we recommend you reset the Netgear extender. In this post, we have covered the two proven ways to reset the Netgear extender. But before taking the plunge with the procedure, you need to gain some knowledge regarding why you need to reset your extender, and some points to be keep in mind before Netgear extender reset.
So, by taking into consideration your quality time, let’s get started.
Reasons to Reset Netgear Extender
Take a look at the below-mentioned reasons that state when and why you need to reset your Netgear extender:
- Poor WiFi quality
- Constant buffering during streaming
- Facing issues in accessing the internet
- Unable to recover WiFi range extender’s admin password
Checkpoints: Netgear Extender Reset
Walk through the below-mentioned points in order to ease your Netgear extender reset process:
- Find an Active Power Socket
Firstly, check whether the power socket you are using is damaged from any side or not. Along with this, check if it is capable in sufficiently supplying the power to the extender. Try to avoid connecting the extender via an extension cord. And don’t use sworn-out cable while connecting the extender to the power socket.
- Let the Extender Reset Properly
After completion of the process of the restart, don’t rush in using the extender, but wait for a few minutes and let it boot up completely. If the booting process gets interrupted by any means, then you may face hurdles in the pathways while resetting the process.
- Save the Setting Changes
In order to enjoy the pros of resetting the Netgear extender, you have to deal with cons also. All the settings which you have customized will be deleted after resetting the extender. So, in order to resolve this you have to make a note of all changes you have done before and including SSID, channel number, password, security, settings, and much more.
So, no further discussion, let’s ring up the curtains from the Netgear extender factory reset process.
Process: Reset Netgear Extender
In this article, we have explained two different ways to reset the Netgear extender.
- By the Reset button
- Through web-user interface
So, let’s discuss them thoroughly.
Using the Reset Button
Before starting the process, keep in mind that the extender you are planning to reset must be switched on. Most users make the mistake of resetting the extender when it is turned off. Don’t repeat their mistake.
- After turning on the extender, locate the reset button. It is usually located on the side panel. It is designed by the company in such a way that users can never click it by mistake.
We recommend you to use of flashlight or torch light if you are in a dark space.
- Once the process of resetting the Netgear extender finishes, you can start the procedure of setting up the Netgear extender from scratch.
Via the Web-User Interface
You can also reset the Netgear extender by accessing the mywifiext login page. It is also known as a soft reset. So, let’s start the procedure.
- Connect your router to the extender via Ethernet cable. After this, launch the web browser on your device. Go to the address bar and enter mywifiext.net.
- The login page will appear on your desktop, you have to fill in login credentials in their respective fields. After this, the Netgear Genie wizard will open.
- Go to the Settings option and then click on Additional Settings, and try to find the Reset button.
- Click on the Reset option and verify it by clicking on the Yes tab.
- Do not panic as the extender will reboot. And do not switch off the extender during rebooting process and wait until the LED flashes solid green.
That’s all! We hope that by following the above-mentioned steps, you can easily reset your Netgear extender. Are you satisfied with the above-mentioned information that helped you in performing backup and restoration of the Netgear router?
In the event that you have resolved your query, feel free to drop some lines into the comment section.

